I actually started on this bracer before making eldritch ones but had to wait for some materials to arrive before I could finish it. In case you are wondering why I am making so many bracers, it is because I just started playing with worbla. Bracers are relatively simple to make and take less material than other pieces of armor if I make a mistake.
As usual, here are some progress shots:

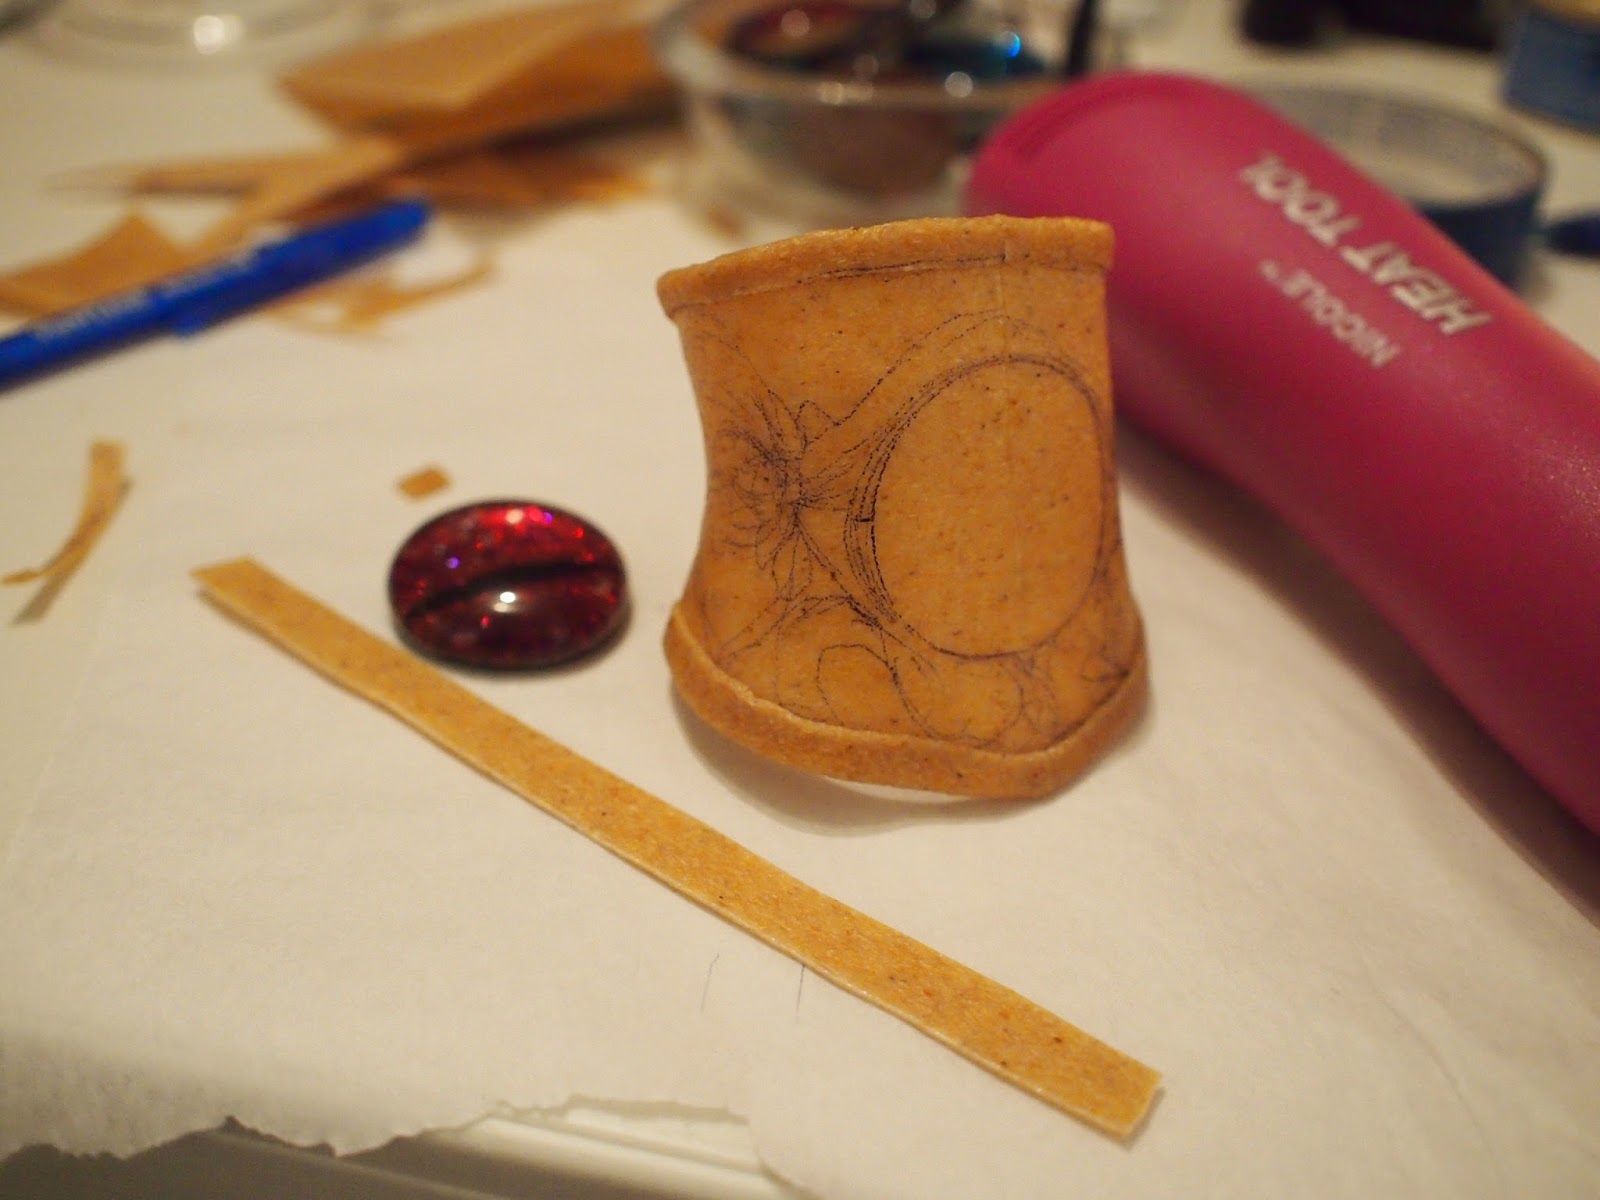
Sketched out a rough design on my iPad, using Paper.

Drew the pattern on a piece of craft foam (the first wolf was too derpy so I had to draw another one).

Cut out the foam and two pieces of worbla that were large enough to cover the foam.

Covered the foam with heated worbla.
It took a couple heating for the details on the wolf to show up.

Curved the entire piece by pacing it on a vodka bottle.

Added details with strips of worbla.

Primed it with many, many, many, many, many layers of gesso.

Primed again with a couple layers of black acrylic paint.
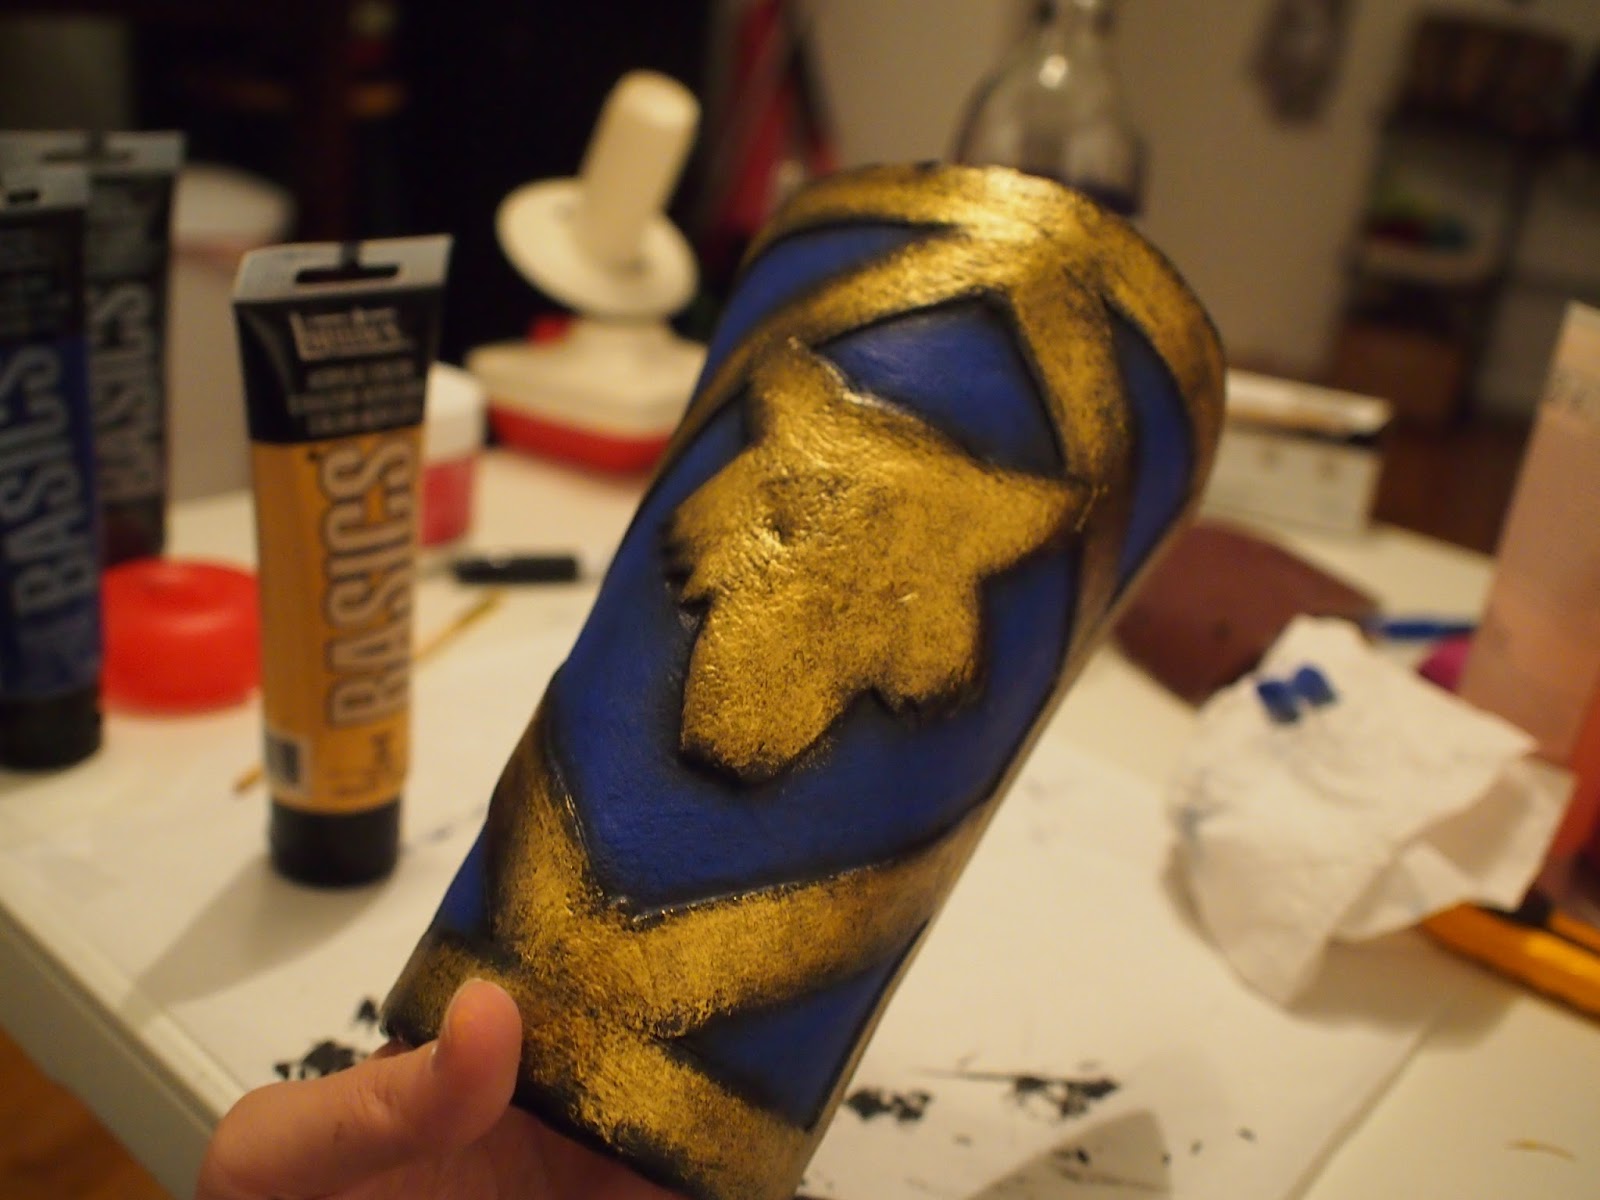
Painted with a rough layer of base colours.

Added some highlights.

Added some "battle scars" and sealed it with an acrylic spray.
Now, for attaching the straps to the back.

Bend some garden wire into little rings (you should take better care of your pliers than I did with mine...poor thing was falling apart with rust).

Attached the rings to the back of bracer with small pieces of heated worbla.

Sew nylon webbing and buckles onto the rings.

And we are done! The straps are adjustable.