Monday, November 17, 2014

Warhammer 40k Space Wolf Bracers


I actually started on this bracer before making eldritch ones but had to wait for some materials to arrive before I could finish it. In case you are wondering why I am making so many bracers, it is because I just started playing with worbla. Bracers are relatively simple to make and take less material than other pieces of armor if I make a mistake.


As usual, here are some progress shots:

Sketched out a rough design on my iPad, using Paper.
Drew the pattern on a piece of craft foam (the first wolf was too derpy so I had to draw another one).
Cut out the foam and two pieces of worbla that were large enough to cover the foam.


Covered the foam with heated worbla.
It took a couple heating for the details on the wolf to show up.


Curved the entire piece by pacing it on a vodka bottle.

Added details with strips of worbla.


Primed it with many, many, many, many, many layers of gesso.

Primed again with a couple layers of black acrylic paint.

Painted with a rough layer of base colours.

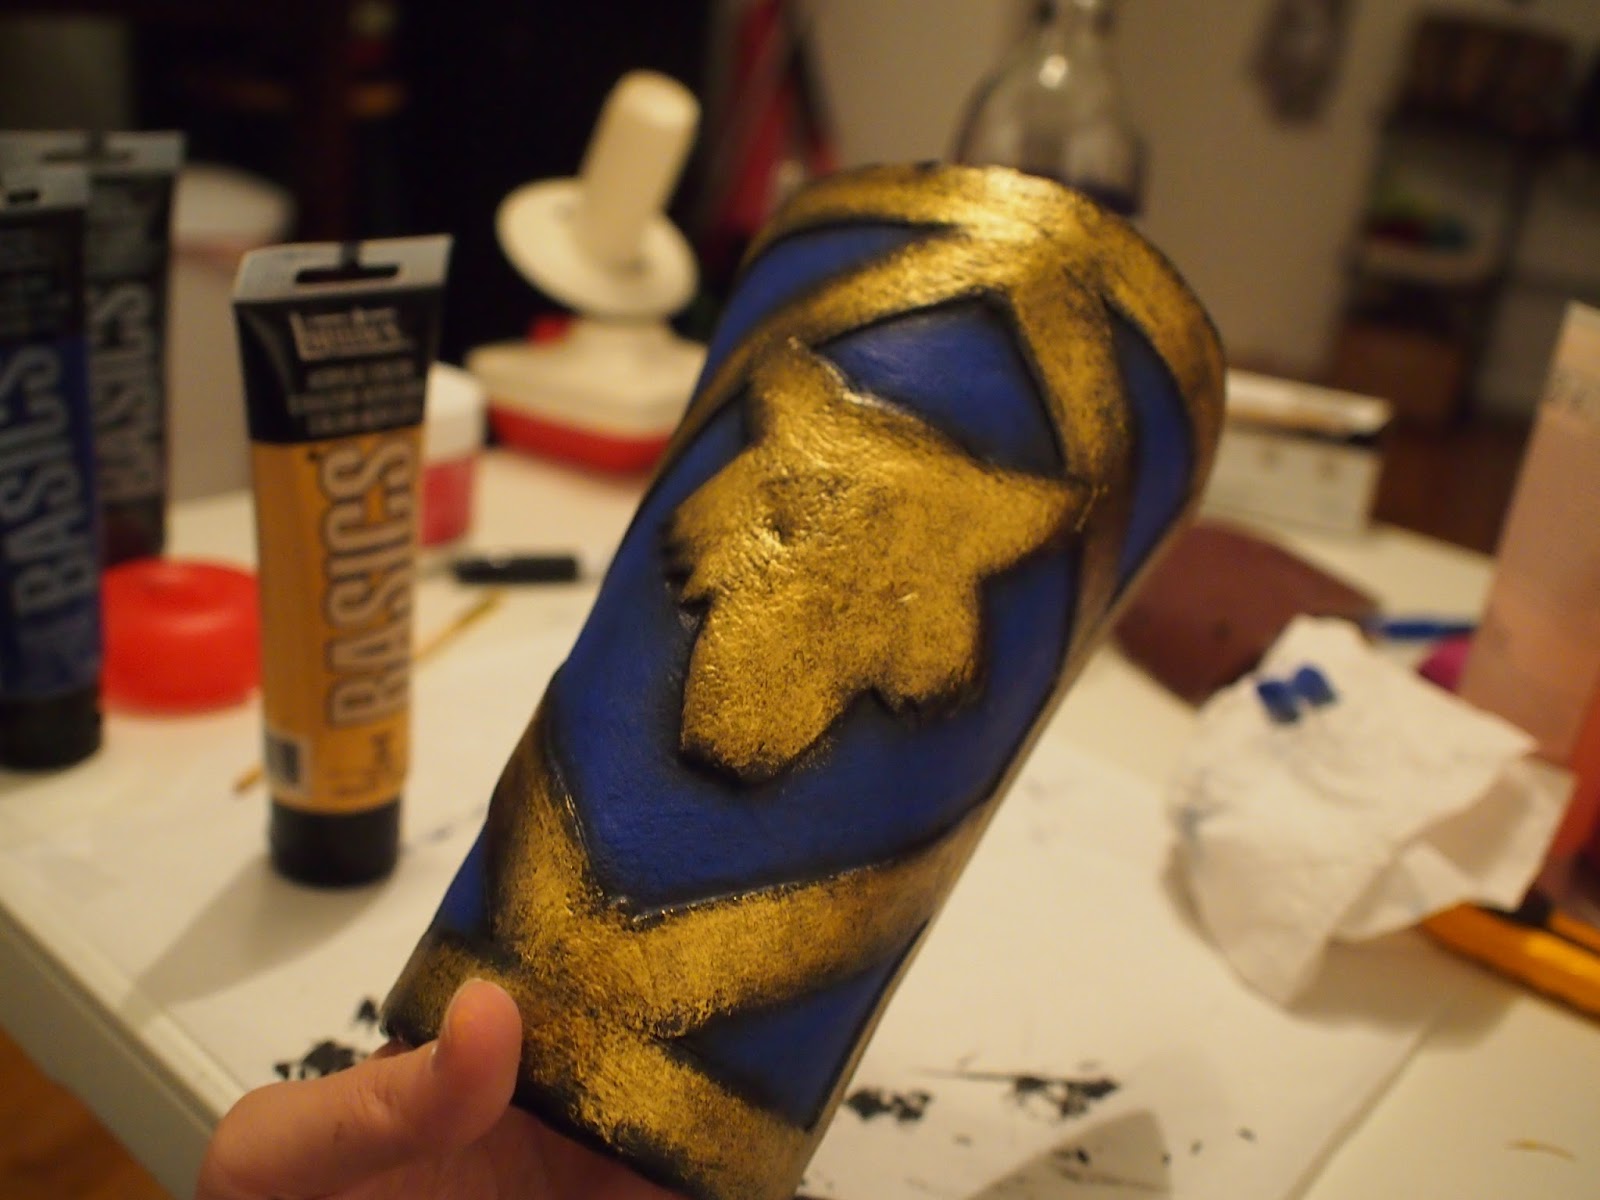
Added some highlights.
Added some "battle scars" and sealed it with an acrylic spray.

Now, for attaching the straps to the back.
Bend some garden wire into little rings (you should take better care of your pliers than I did with mine...poor thing was falling apart with rust).

Attached the rings to the back of bracer with small pieces of heated worbla.
Sew nylon webbing and buckles onto the rings.
And we are done! The straps are adjustable.


Saturday, November 15, 2014

Eldritch Eye Bracer - Worbla and Pretty Rocks


Cold days and WoW servers down meant more arts and crafts! This bracer is made with a pretty rock I painted and Worbla (a kind of thermoplastic). Visit my facebook page for more Worbla fun!

I learned about thermoplastics and painting armor from books by a cosplayer named Kamui. She has many excellent tutorials and books so I will not explain it any further here. Instead, please enjoy the progress pictures!


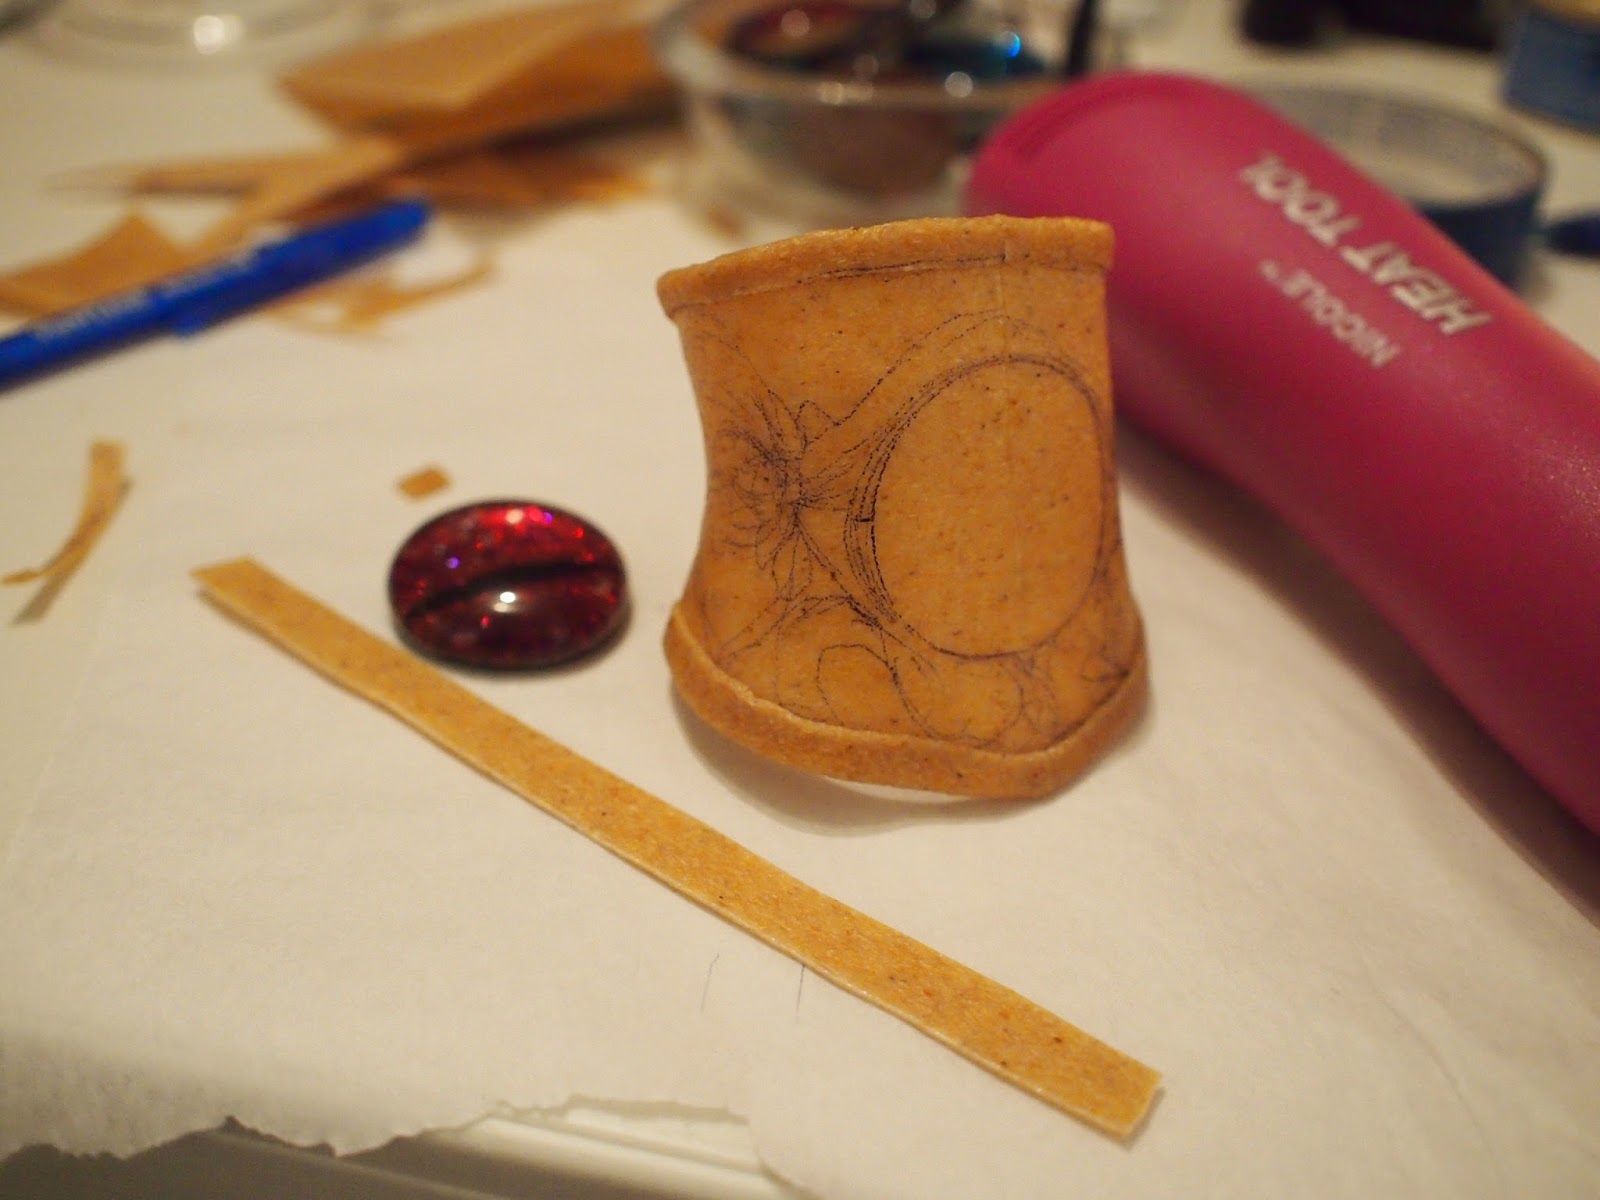
I started with a basic pattern and a rock I painted to look like red eye (with GLITTERS)


Then I used my heat gun (the pink phallic thing in the background) to activate the worbla and molded it to my wrist.


Added a little bit of detail and drew on a basic design.


Added more details and molded the "eye" onto the bracer.


Covered the eye with painter's tape. Primed with 10-15 (who's really counting any way) layers of gesso to even out the small dents. This is the hardest part - apparently, watching paint dry is REALLY boring (rum helped).


Cover with black acrylic paint.


Paint with coloured acrylic paint.

Fix all the small nooks and crannies, then seal with an acrylic spray.

And we are done! No need to add claps or anything since it was molded to my wrist.


Thursday, November 13, 2014

Make Pretty Rocks!


Unemployment sometimes means my creative side just explodes. I made these while waiting for WoW servers to come back up. They look as if they could hold powers of a cosmos but are actually really simple and cheap to make.

Here's how to make some of your own:

Materials:

Mosaic Rocks (about $2/15 at Michael's)
Cheap nail polish - glittery ones (Wet n' Wild is usually around $1/bottle)
Black Acrylic Paint (if you want a darker background)
Aluminum foil
More glitter (if you want more sparkles)


1. Paint a thin coat of glitter nail polish on the flat side of the rock and wait for it to dry.


2. Add some glitter to it while the nail polish is still wet, brush off the excess glitter.


2a. Alternatively, add a different colour nail polish.


3. Once the polish is dry, coat the back with a solid layer of black acrylic paint.


4. Once the black acrylic paint dries, coat with a layer of clear nail polish to seal.


OPTIONAL:
While the clear top coat is drying, stick a piece of aluminum foil underneath and cut off the excess. I do this just in case I missed a spot when covering it with acrylic paint.

Experimenting is fun!


Thursday, October 9, 2014

Super Soft Winter Hat!


I've wanted to knit with the Noro Shiraito yarn for some time now. This super-duper-soft yarn is made with an angora and cashmere blend. It's a bit pricey ($30/skein) normally but I managed to grab the last skein that was on sale at the local yarn shop last week.

Naturally, instead of applying for jobs, I sat at home and knit this hat. At first, I felt like a clumsy moose because the yarn kept on breaking. I had to experiment with the tension quite a bit so the brim of the hat came out a little wonky.

Here's how I made the hat:

I used a US 3 circular needle and the entire skein, about 195 yrd. It was knit in the round. Final size of the hat is about 22" circumference and 10" in height


First, the yarn is offer for cat approval. As you can see here, Lady is showing nonchalance, the cat way of saying she approves, maybe, quite probably.


Hat brim - CO 108. Start with rounds of knit stitch (I did 3). Then a couple rows of K3 P1 until the end. (I did 15). Purl one round when you are done with the brim.

Hat Body - Start with rows of k1 rounds and add the wavy lace pattern to create the wavy bar when you see fit. I did 10 rounds of k1, wavy lace rounds, 6 rounds of k1, wavy lace rounds, then another 10 rounds of k1.

To do the wavy lace pattern:
1. P1 to the end
2. k1 to the end
3. K2tog 6 times, (YO K1) 6 times to the end.
4. P1 to the end


Hat crown - At this point, you can really use any kind of decrease you like for hats.
I did:
 k2tog 6 times, and k1 6 times to the end of round
K1 to end for 2 rounds
k2tog 4 times, k1 4 times to the end of round
k1 to end for 1 round
K2tog to the end of the round.
Thread tail through the stitches and close the hat


Add a pompom if you have left over yarn.


I didn't block the hat because I'm not very experienced with cashmere/angora and don't want to risk the yarn breaking in the process.


Tuesday, September 16, 2014

Dice Bag!


I have been playing video games quite a bit since my life as a student has ended. Now my life as a lowly intern has commenced! I have a bit over an hour of commute to work each way and this bag was knitted entirely on the subway/buses. It took about a week to complete.


I did not follow a pattern since I suck at sticking to them, but here's how I made it.

Needle size/gauge/yarn weight doesn't matter here. But I used a wool/nylon bend sock yarn (gift from my best friend) and size 2 needles.
  1. Cast on 8. 
  2. Divide stitches onto 4 double pointed needles (2 on each needle).
  3. Join (don't twist your work!)
  4. For each of the 4 needles, make 1 (or however you want to increase) then knit to the end.
  5. The idea is one increase per needle until it forms the desired size for bottom of the bag.
  6. Find a cable pattern you like (or wing it) and knit each of the rows for the pattern four times, i.e. knit row 1 on first needle, row 1 on second needle, row 1 on third needle, row 1 on fourth needle, row 2 on first needle, row 2 on second needle ....
  7. When the bag is about an inch from desired length, start knit stitches in the round until it reaches the desired length
  8. Bind off
  9. Make i-cord (directions here) long enough to go around the open mouth of the bag twice.
  10. Thread i-cord through the knit stitch area at the top of the bag and you are done!